Progress Reporting with the P6 Sync Sheet
Keeping project schedules up to date has always been a challenge. Too often, progress updates are collected through spreadsheets, emails, or conversations in the field, leaving planners to spend hours manually re-entering data into Primavera P6. This not only creates double handling but also opens the door to errors, lost updates, and disputes over what was really reported.
The Progress Reporting feature in XER Toolkit changes that. It provides a simple, structured way for project teams to update their portion of the schedule directly:
-
Teams can be set up and given access to the activities relevant to them.
-
When they log in, they see their view of the schedule and can input Actual Start, Actual Finish, and % Complete right there on the platform.
-
The planner then exports these updates using the P6 Sync Sheet, which can be imported straight into Primavera P6 – no retyping, no double entry.
This approach makes progress updates faster, more robust, and more transparent. XER Toolkit automatically records and logs every change, giving you an auditable trail of who reported what and when. Better still, it creates a space for documented discussions right alongside the schedule, so progress is no longer hidden in email chains or lost in meetings.
By combining direct team input with seamless P6 integration, the Progress Reporting feature ensures schedules are kept accurate, collaborative, and defensible – a big step forward from traditional update methods.
Overview: How Progress Updates Work
The philosophy behind Progress Reporting is simple: make it easy for teams to provide accurate updates without overwhelming them with unnecessary detail.
-
The planner (or team leader) sets up a series of views from the same master schedule, each tailored to the team that needs to provide updates.
-
A curtain is applied so that only the relevant time window and activities are visible. This cuts out the clutter of a full Gantt chart, which can be confusing for non-planners, and ensures each team sees only the information they need to act on.
-
The views are then shared with the respective teams. When they log in, they see their focused slice of the schedule, update Actual Start, Actual Finish, and % Complete, and add comments where needed.
This streamlined approach means progress reporting is no longer a chore of trawling through hundreds of irrelevant activities. Each team is presented with a clear, concise view of their responsibilities, making updates quicker, more accurate, and far easier to understand.
Best Practice: Step 1 – Set Up Your Views
The first step in running progress updates is to prepare the views for your teams.
-
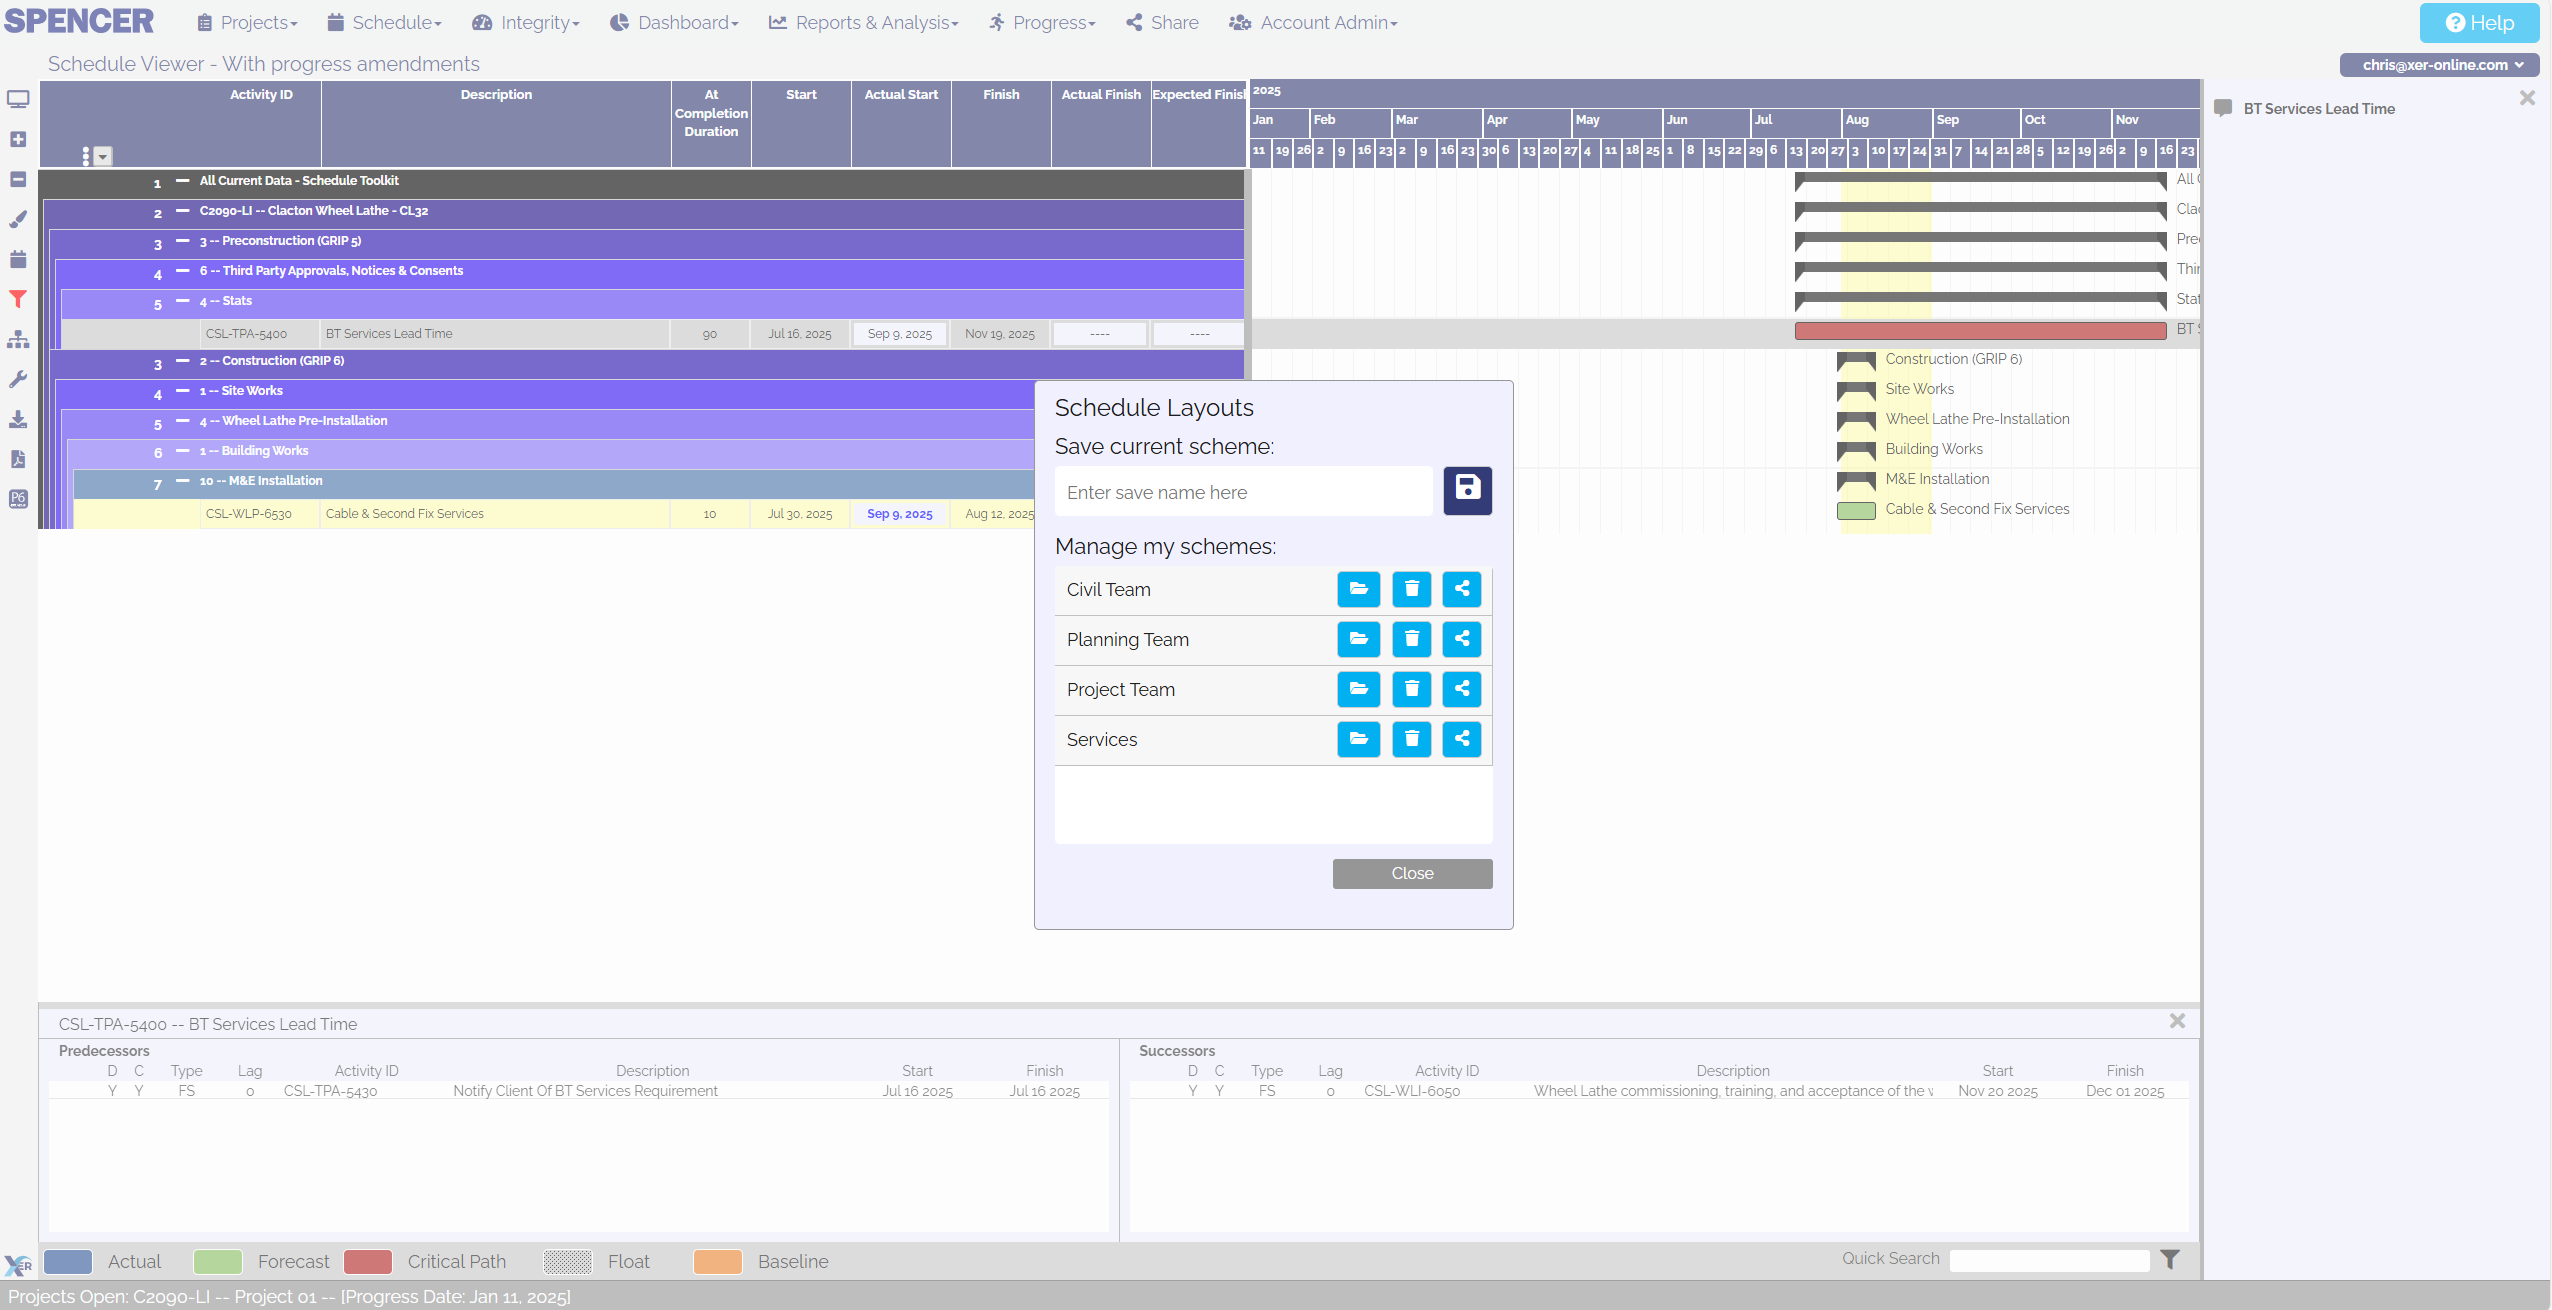
Filter the schedule: Just like in the Schedule Viewer, use filters to narrow down the activities to those that need updates from a specific team.
-
Apply a curtain: Define the reporting period so teams only see the activities within the relevant timeframe. This keeps updates focused and removes the clutter of unrelated activities.
-
Save and share the view: Once the view is set, save it and share it with the team responsible for providing the updates.
-
Repeat as needed: Create and assign separate views for each team that needs to report progress.
By setting up views in this way, each team receives a clear, simplified version of the schedule that relates directly to their work – nothing more, nothing less. This not only makes it easier for them to provide accurate updates, but also reduces confusion and the risk of errors.
Best Practice: Step 2 – Create Progress Update Teams
Once your views are ready, the next step is to set up the teams who will provide the updates.
-
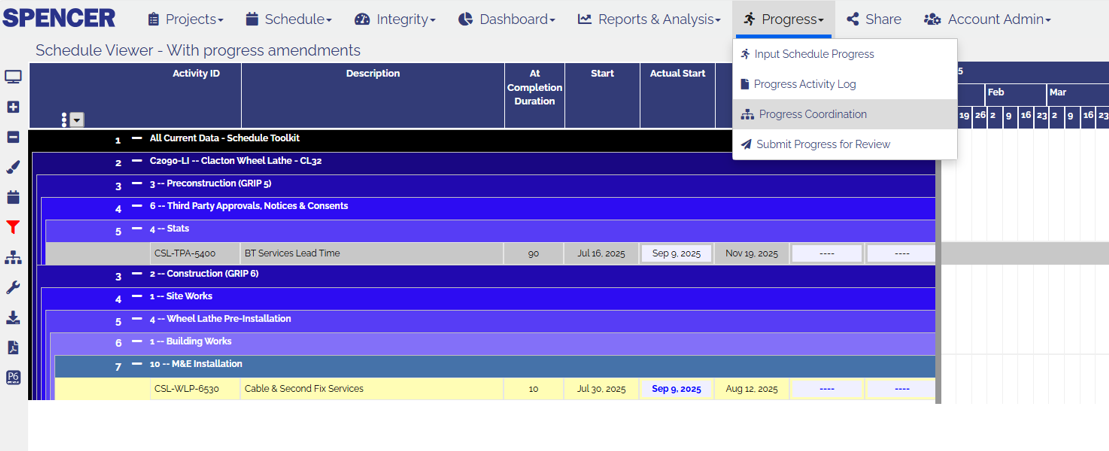
Open the Progress Coordination interface and create a new progress update team.
-
Add members: You can assign individuals directly, or include pre-defined teams you’ve already set up in the Toolkit.
-
Assign roles: Each team has a manager and a reviewer. These roles are important, as they are able to lock activities (more on this later), ensuring that progress inputs are controlled and reliable.
-
Notify the team: Once the team is created, simply hit Save and Notify. This sends an automated email to all listed users, prompting them to log in and complete their progress update.
This approach ensures that everyone knows exactly what is expected of them and when. By formally setting up teams and assigning responsibilities, you create accountability and a clear audit trail for all updates.
Best Practice: Step 3 – Teams Update Progress
When users receive their notification, they log into XER Schedule Toolkit and open the shared filter view prepared for them. This ensures they only see the activities you want them to update, with no extra noise.
Update Rules (Common Sense Checks)
To keep progress inputs accurate and consistent, updates must follow a few simple rules:
-
If you enter a Start Date, you must also provide either an End Date or a % Complete value.
-
If you enter an End Date, there must be a Start Date.
-
If you enter a % Complete value, there must be a Start Date.
-
If you enter 100% Complete, there must be an End Date.
These rules prevent incomplete or illogical updates and ensure the data can be imported cleanly into P6.
Additional Features for Teams
-
Comments & Discussions: Each activity has its own discussion board where users can leave notes, ask questions, or flag issues. This creates a transparent, documented record of conversations.
-
Mark, Add, or Adjust Activities: Users can mark activities as deleted, add new ones, or even suggest relationship changes.
-
 Important: These additional changes are not reflected in the P6 Sync Sheet. Only Actual Start, Actual Finish, and % Complete fields are transferred automatically.
 -
Any suggested changes outside these fields will be reviewed and actioned by the planner directly in P6.
-
This structured process gives teams flexibility to provide feedback while ensuring that the core progress data flows seamlessly into Primavera P6 without extra handling.
Best Practice: Step 4 – Submit Progress for Review
Once a team has completed their updates, the next step is to formally submit them for review.
-
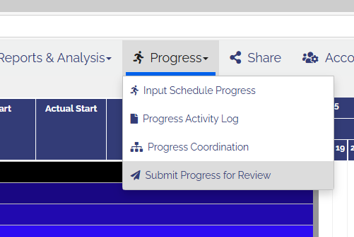
The user simply clicks Submit Progress for Review from the Progress pull-down menu.
-
This action notifies the assigned reviewer by email that the team’s update is complete and ready to be checked.
-
The reviewer can then log into XER Schedule Toolkit, open the same filtered view, and review the updates provided.
This step introduces a quality gate into the workflow. Instead of updates flowing straight into P6 unchecked, they first pass through a reviewer for validation. This ensures:
-
Progress is complete and consistent with the rules.
-
Any comments or flagged issues are addressed.
-
Only accurate, reviewed updates move forward for syncing.
By formalising submission and review, the process becomes both transparent and auditable, reducing the risk of disputes later.
Best Practice: Step 5 – Review and Lock Updates
Once notified, the reviewer logs into XER Schedule Toolkit to check the submitted updates.
-
Open the shared filter: For ease, the reviewer should use the same filter view that the team used. This provides a focused list of only the activities updated, making review quicker and more precise.
-
Check updates: Review the Actual Start, Actual Finish, and % Complete values, along with any comments or notes provided by the team.
-
Lock activities: When satisfied with an update, the reviewer can lock the activity. Locked activities cannot be edited further by users until they are deliberately unlocked in a future update round. This prevents accidental overwrites and ensures an audit trail of approved progress.
-
Validate with Toolkit: XER Toolkit automatically checks each update against the golden rules (e.g. no End Date without a Start Date, 100% Complete must include an End Date, etc.). Any errors or incomplete inputs are flagged for correction before proceeding.
-
Prepare the Sync Sheet: Once all updates for that team are agreed and locked, the reviewer can produce a P6 Sync Sheet, ready for import into Primavera P6.
This step ensures that only validated, accurate progress data makes its way into P6, with full traceability of who reported what, who reviewed it, and when.
Best Practice: Step 6 – Import Updates into Primavera P6
The final step is to bring the reviewed and locked updates into Primavera P6.
-
Once the reviewer produces the P6 Sync Sheet, an
.XLSXfile is generated by XER Toolkit. -
This file contains all validated progress data – Actual Start, Actual Finish, and % Complete – ready to be mapped directly into P6.
-
To import the file, simply follow Oracle’s official instructions for updating P6 schedules using Excel:
 Oracle P6 Import/Export Guide
Once imported, your P6 schedule is up to date with the latest progress from all teams, without any double handling or re-keying of data.
This closes the loop: progress is requested, entered, reviewed, validated, and imported – all with a full audit trail and zero duplication of effort.